Despite the fact that nature is known for being unpredictable, you must be aware of the weather conditions at the time and location where you will be doing your outdoor photography. You must be prepared for extreme weather in some locations. Because taking a photograph in an area where extreme weather occurs is difficult, you must have wanted to achieve the best possible result by preparing yourself, your photography equipment, and your basic and specific photography technique knowledge for the specific conditions you will encounter on the location.
A. Basic Photography Triangle
If this is your first time using a camera or you haven't known about the basic photography triangle, but wanted to take a picture outdoor, you have to understand first how to set the "Photography Triangle". This chart summarizes the effect of changing the value of your camera ISO, Shutter Speed, and Aperture:

source: https://www.studiobinder.com/blog/what-is-the-exposure-triangle-explained/Links to an external site.
It may seem complicated but here is how I would summarize the use of adjusting these features:
Note that the given ranges are estimations and you will need to adjust them based on your own circumstances.
- If the weather or location calls for a lot of light, lower your ISO to the lowest setting possible (100-200), and your photo will have decent lighting with very little noise.
- If the weather or location dictates a low exposure of light, or if you're photographing at night, you'll need to increase your ISO (800 - 3200). This setting will allow your camera to capture enough light for your object to be visible in the picture, but it will result in a moderate to high amount of noise in the image.
- If you want to capture a moving object and make it freeze on your picture, set a high setting of shutter speed (1/125 - 1/1000). However, this high setting will lower the exposure of light on your picture and you might want to increase the ISO in order to maintain a high shutter speed.
- If you want to do a light painting technique from the light of stars or other objects, you can set your shutter speed into low (1/8 - BULB) and you can create a painting for that but
- If you want your close-up object to be focused while the background is blurred (shallow DOF), set your aperture to be as low as needed (1.4 - 4). However, you should be aware that you will receive less exposure and that you can adjust the other features to meet your exposure requirements.
- If you want a wider focus (wide DOF) where all the objects have the same amount of focus, set your aperture higher (5.6 - 11)
B. Equipments and Techniques
1. Cold Weather

If you want to take a picture in a cold-weather location, such as the mountains or during the winter, wear warm clothing, especially a jacket with large pockets that can fit some of the photography equipment that you will frequently take in and out to protect it from the cold or snow. Moreover, you have to wear warm gloves or touch-screen gloves that will allow you to set your camera without exposing your hand to the cold.
Furthermore, always bring a camera bag or a backpack to protect all of your equipment from the cold, and only take it out when you're taking a picture, then put it back into your bag when you're not using it. If you are using a tripod, choose a tripod that is made of carbon fiber since it's lighter and easier to carry around than a metal tripod. It is important to bring a backup battery since cold weather can easily drain your battery power. You might notice that your picture is a little bit blurry because of the weather. This can be avoided by using a UV or other filter to protect your lenses. After you're done, place your camera in a ziplock plastic bag to allow it to warm up and adapt to the cold weather before putting it inside your backpack.
In cold weather, you can adjust your ISO, shutter speed, and aperture according to your need. But since cold weather are mostly provides a low amount of light, you can set your ISO high, moderate shutter speed, and moderate aperture.
2. Rain
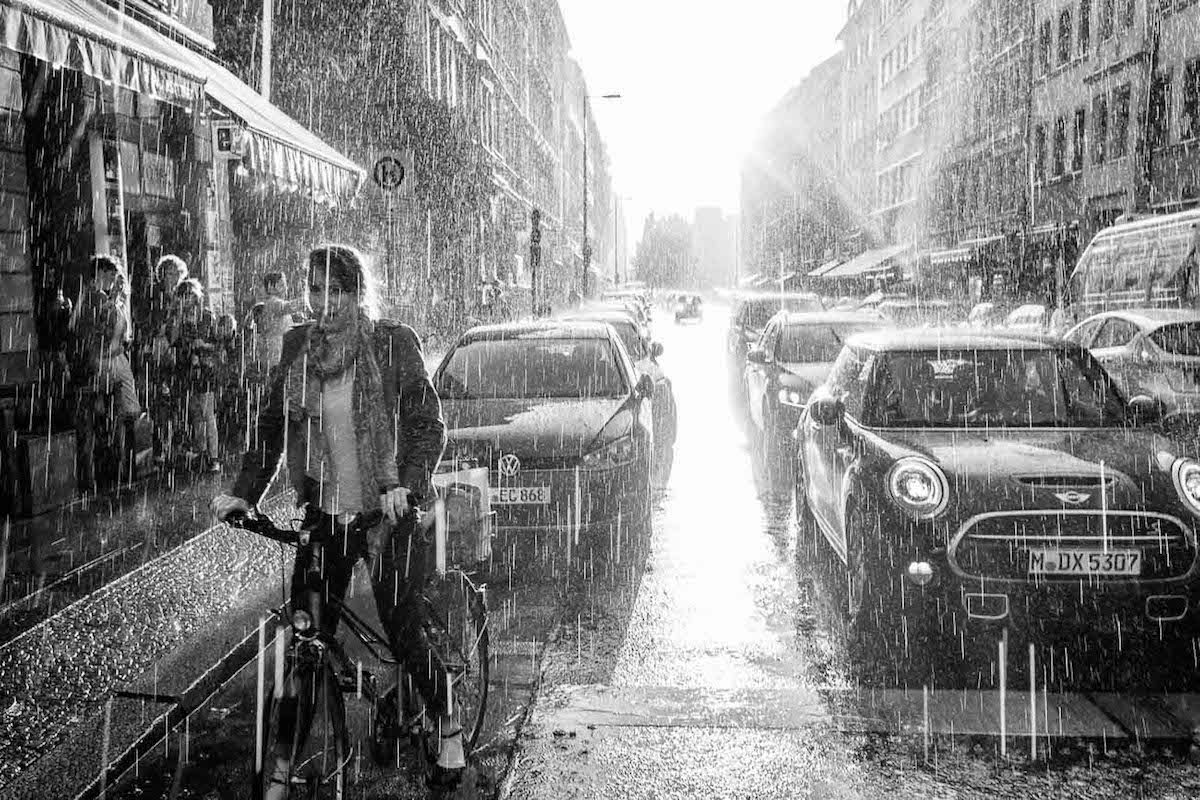
Doing photography on heavy rain weather might be a great way to produce a dramatic picture that is full of emotion. However, if you want to take a picture in a place where heavy rain exists, there are many things you have to pay attention to. First and foremost, you have to protect yourself with a raincoat and even boots if needed. Furthermore, if you have one, use a waterproof/splash-proof/rainproof camera or hoods so that you won't have to worry that the water will break your camera. If you don't have one, definitely use an umbrella to protect your camera while taking a shot.
The light on rainy weather is usually low. Thus, you might have to adjust your ISO high. If you want to take pictures where the raindrops is freezing you can adjust your shutter speed higher and then you can set your aperture to high, starting from f/8 so there will be more light going into your lense. Moreover, using a manual focus might help you since the automatic focus is usually difficult to determine the object because of the rain.
Aside from rain, you must be aware of and cautious of the possibility of a storm or lightning striking your location. Stay away from any lightning or storm that appears to be heading your way. If the lightning or storm is far away, you can try taking a shot of it using the burst mode, a fast shutterspeed, and a low ISO to capture it perfectly.
3. Radiant Sun
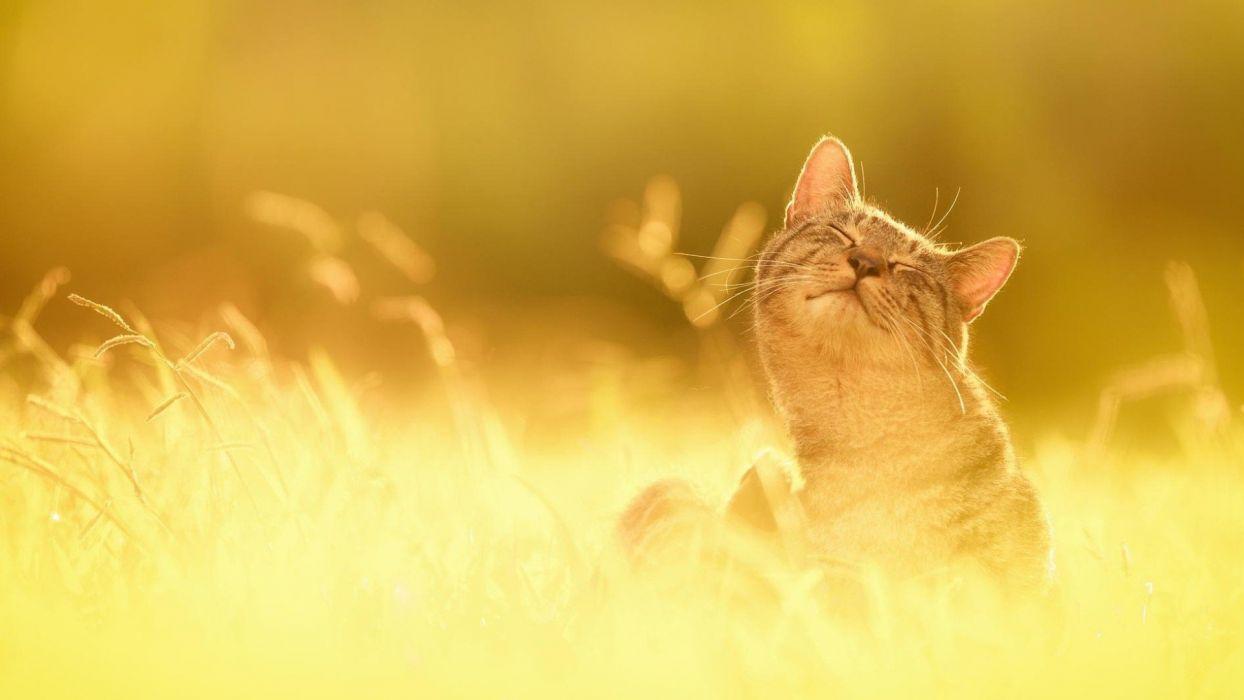
Doing photography on a very sunny day might be challenging. One of the most important things is planning your shoot, what object and how would you want to take a picture of it since the radiant amount of sun might affect your energy. You have to prepare yourself with a lot of water and food to support yourself during the shoot. Moreover, you also need to protect your skin using sunscreen in order to protect yourself from the Ultra Violet light. You can bring an umbrella or use a cap to protect your head from the sun.
SInce sunny weather. provide a high amount of light you can set your ISO as low as possible, high shutter speed, and low aperture. However, sunlight would usually result in the occurrence of shadow, you can use a reflector to reflect the sunlight into the object so that you can control the direction of light and shadow of the picture.
4. Fog

Photographing fog in a natural landscape is usually done at sunrise or sunset from a higher vantage point. The light that occurs in the foggy place is usually soft. In order to take a great detail of the fog, you have to set the ISO as low as possible, very low shutter speed, and high aparture. Furthermore, use a +1 exposure setting on top of your camera. It is advised for you to use a tripod so that you will be able to apply alow speed photography technique in capturing the fog.
5. Strong Wind

Doing outdoor photography where the wind is strong might be challenging but also using the strong wind to capture a beautiful and naturally motioned picture is also an advantage. The presence of strong wind might make you consider using a tripod so that it's easier to have a stable photograph. But, you have to still be careful to avoid your camera and tripod from falling to the ground. One tip that you can apply is to make use of the burst method so that you can capture many frames in one shot. Furthermore, since there will be a lot of motion going on, set your shutter speed high so that your image will have less motion blur. For the light, you can adjust it according to your need by increasing and decreasing the ISO.


 icons at the top right corner of the subsection.